

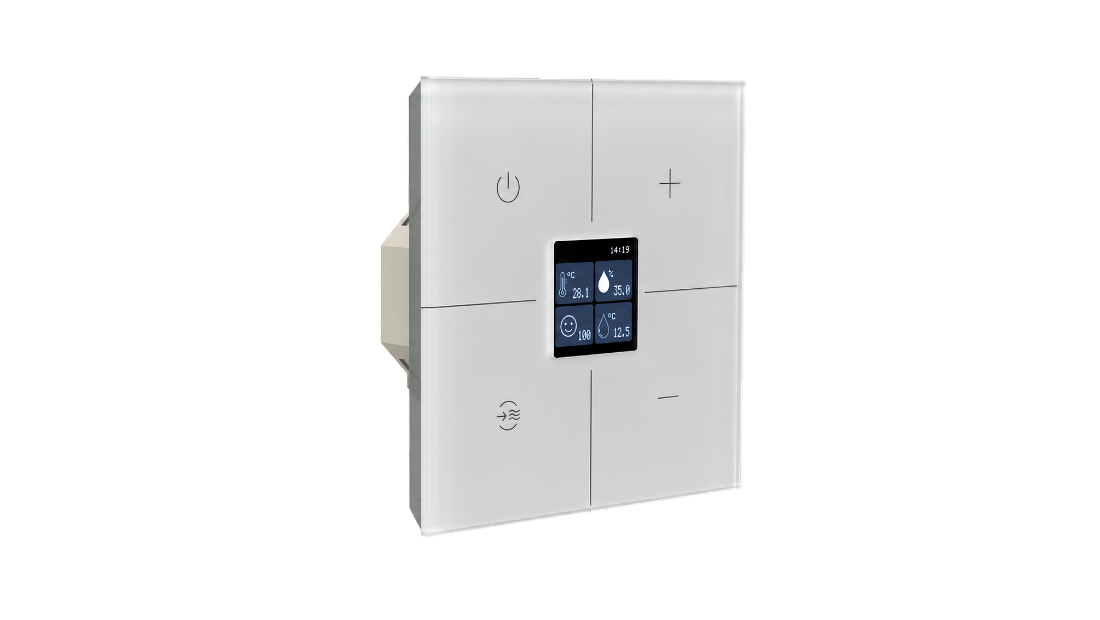
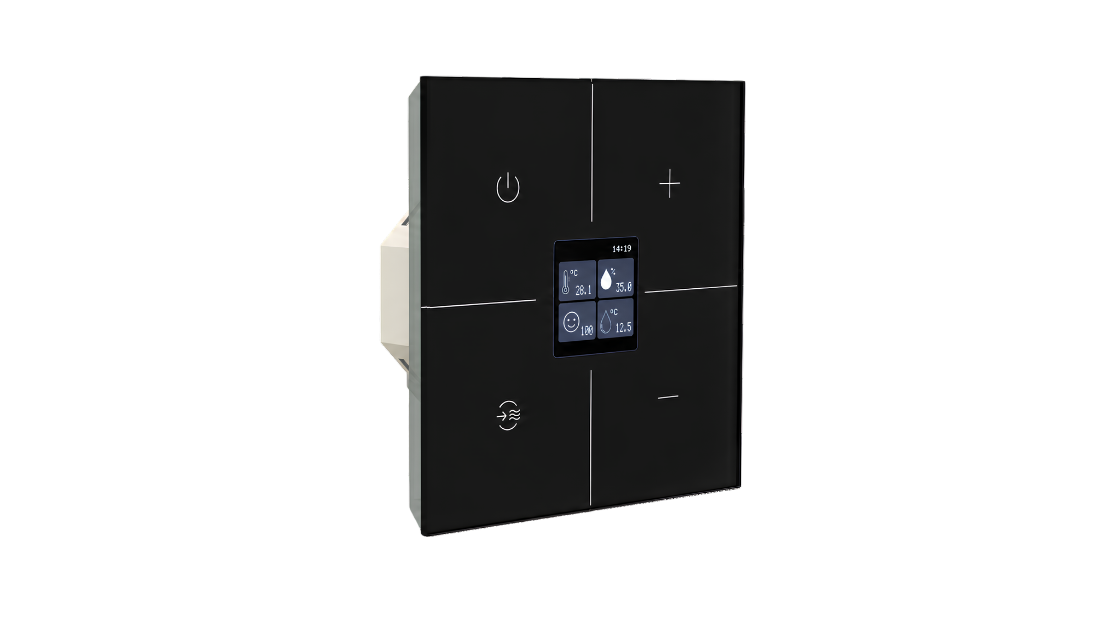
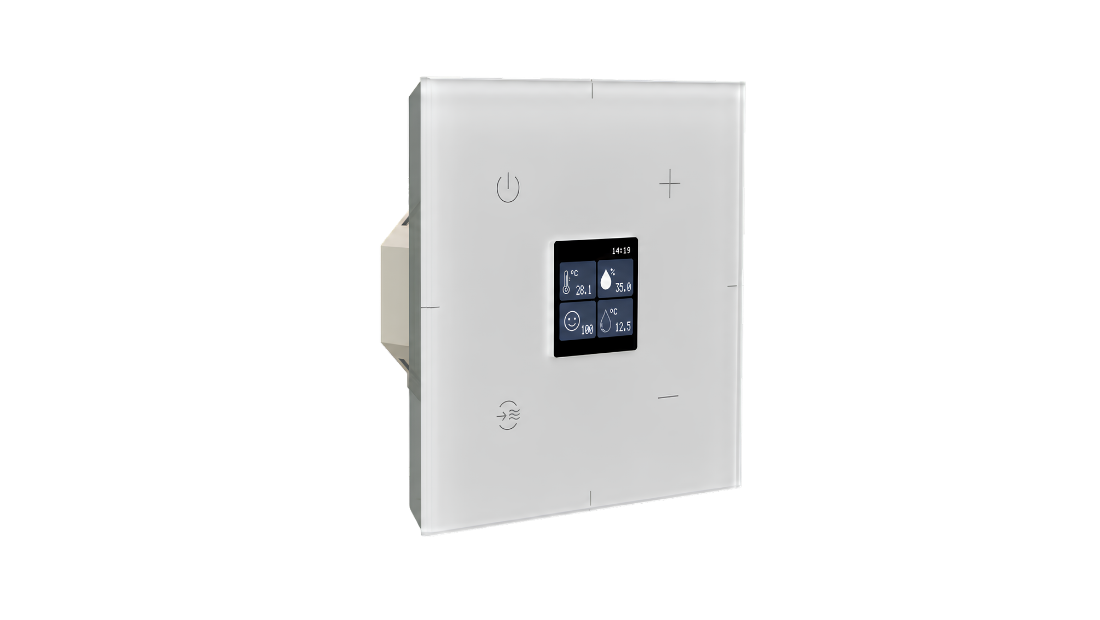
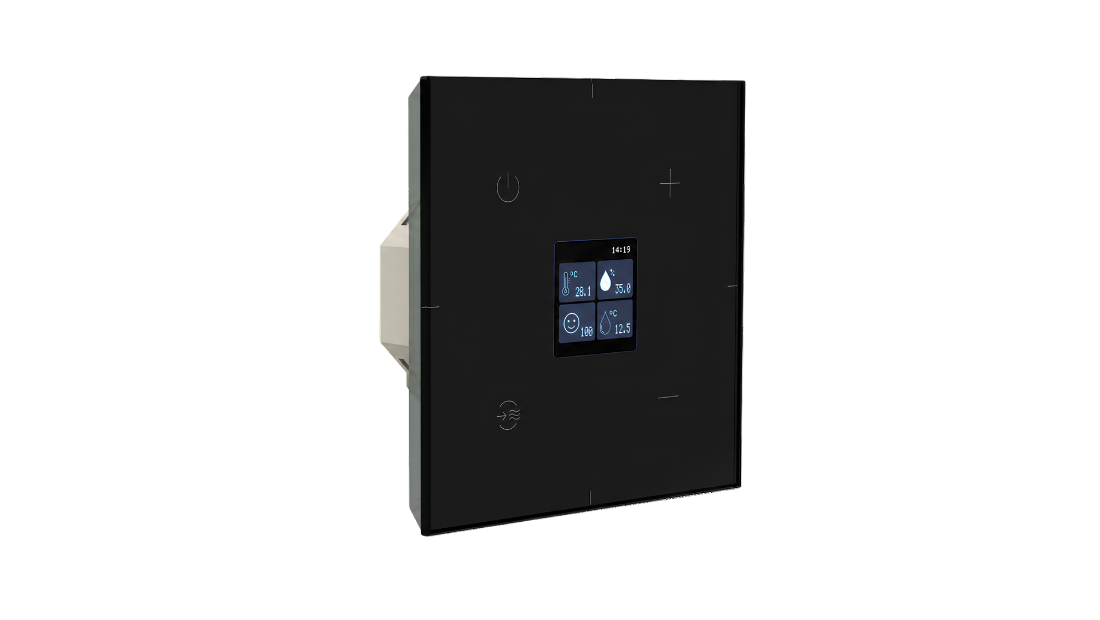
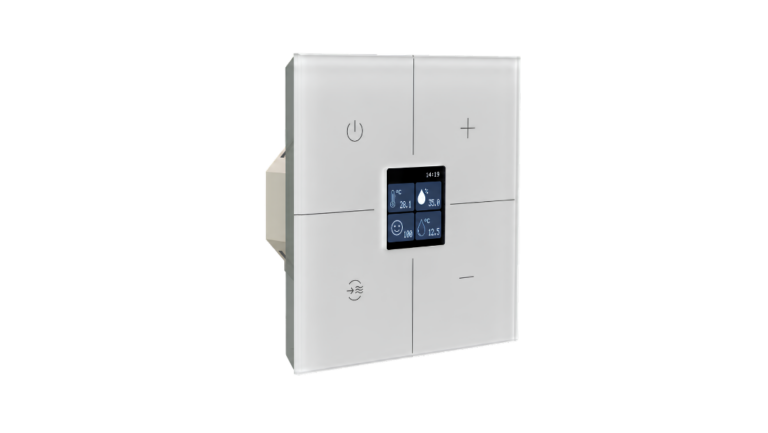
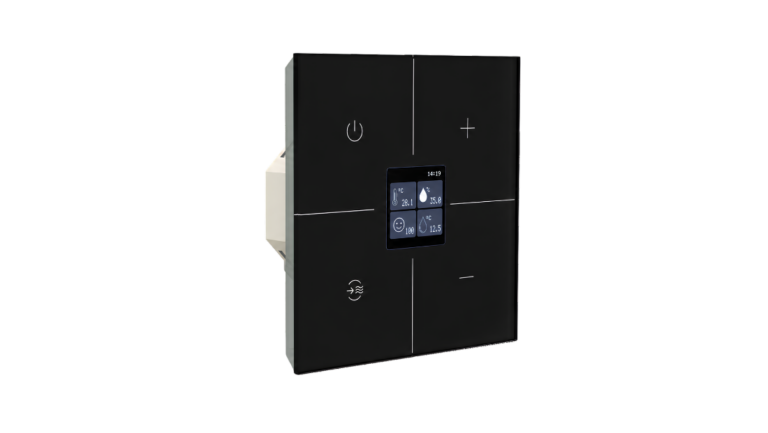
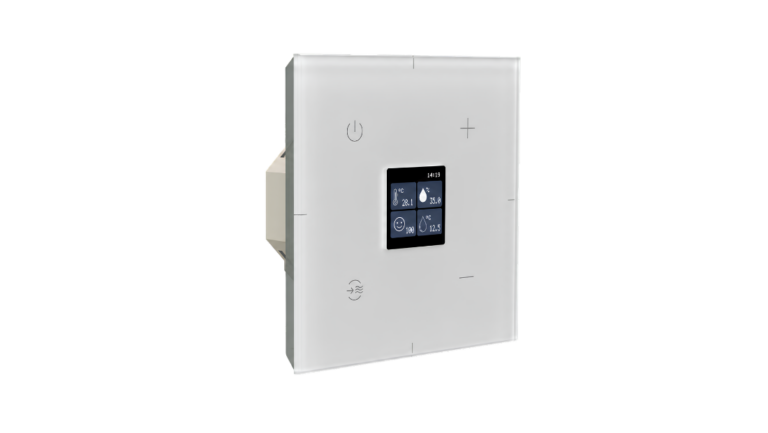
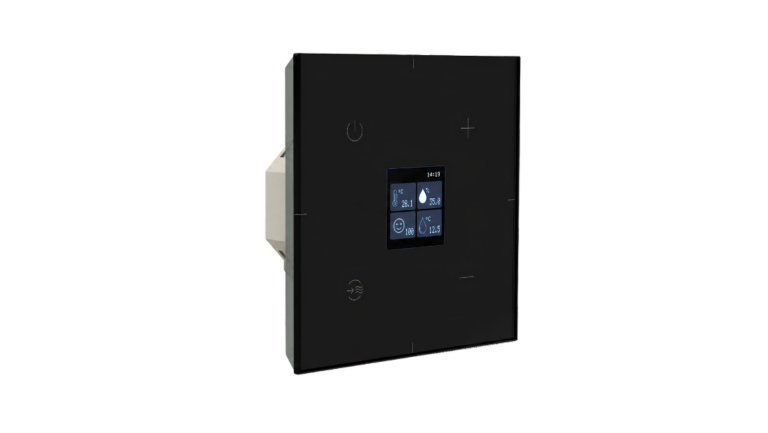
Glass touch panel with four touch zones and a 1.3-inch colour display, designed to centralise automation, climate control and air quality management in a single, simple and intuitive interface.
The TW-FUSION can be configured through the ATouch 5.0 application, under “Configure Inputs”, or using the left microswitch located on the underside of the touch panel. Display and personalisation settings can also be changed directly through the panel menu.
The TW-FUSION has four independent touch zones, which can be programmed individually. Short presses, long presses, cross-touch and swipe gestures provide additional functions.
The TW-FUSION has four independent touch zones, which can be programmed individually. Short presses, long presses, cross-touch and swipe gestures provide additional functions.
Perform the cross-touch gesture shown on the panel. The TW-FUSION cycles through the available modes in the following order: Automation, Climate Control, when applicable, and Air Quality.
Perform the cross-touch gesture shown on the panel. The TW-FUSION cycles through the available modes in the following order: Automation, Climate Control, when applicable, and Air Quality.
You can control lighting, blinds, gates and other ATouch equipment. Timers, delays and scenarios can also be executed, depending on the installation configuration.
You can control lighting, blinds, gates and other ATouch equipment. Timers, delays and scenarios can also be executed, depending on the installation configuration.
A short press performs the main function. A long press opens secondary functions or menus. A cross-touch switches between the available modes. Swipe gestures can be used for up, down, on and off commands, airflow vane control, mode changes and switching between climate-control units.
A short press performs the main function. A long press opens secondary functions or menus. A cross-touch switches between the available modes. Swipe gestures can be used for up, down, on and off commands, airflow vane control, mode changes and switching between climate-control units.
Press the left microswitch for 2 seconds. When “PROG. KEY” and “PRESS KEY” appear, touch the zone you want to program.
Press the left microswitch to cycle through the options: Change, On/Up, Off/Down, Timed, Delay or Scenario. Touch the selected zone to confirm.
If you select Timed or Delay, choose 1 second, 1 minute, 5 minutes, 15 minutes, 30 minutes, 1 hour or Memory and touch the zone again to confirm.
Press the left microswitch for 2 seconds. When “PROG. KEY” and “PRESS KEY” appear, touch the zone you want to program.
Press the left microswitch to cycle through the options: Change, On/Up, Off/Down, Timed, Delay or Scenario. Touch the selected zone to confirm.
If you select Timed or Delay, choose 1 second, 1 minute, 5 minutes, 15 minutes, 30 minutes, 1 hour or Memory and touch the zone again to confirm.
On a DIN rail module, press PROG and select the output you want to control. The PROG LED turns red and the output LED turns green. Then touch the TW-FUSION zone you want to associate.
For a wall module, use the left microswitch on the panel installed over that module to select the output, then touch the required zone.
Do not touch another zone during programming, as it may become associated with the output.
On a DIN rail module, press PROG and select the output you want to control. The PROG LED turns red and the output LED turns green. Then touch the TW-FUSION zone you want to associate.
For a wall module, use the left microswitch on the panel installed over that module to select the output, then touch the required zone.
Do not touch another zone during programming, as it may become associated with the output.
Make sure that the TW-FUSION is in Automation mode and that the current time is shown on the display.
Enable Programmer mode in the ATouch 5.0 application settings. Open “Program”, find the output and place it in programming mode. Then touch the TW-FUSION zone you want to associate.
When the association is complete, the output will no longer appear in programming mode in the application.
Make sure that the TW-FUSION is in Automation mode and that the current time is shown on the display.
Enable Programmer mode in the ATouch 5.0 application settings. Open “Program”, find the output and place it in programming mode. Then touch the TW-FUSION zone you want to associate.
When the association is complete, the output will no longer appear in programming mode in the application.
Yes. In the application, place all the required outputs in programming mode and touch the zone that should control them.
Without the application, press PROG on the corresponding modules, select the required outputs and touch the chosen zone. Outputs from different modules can be associated with the same zone.
Yes. In the application, place all the required outputs in programming mode and touch the zone that should control them.
Without the application, press PROG on the corresponding modules, select the required outputs and touch the chosen zone. Outputs from different modules can be associated with the same zone.
Yes. Repeat the association process for the same output with every touch zone you want to use. This allows the same light to be controlled from several panels or touch zones.
Yes. Repeat the association process for the same output with every touch zone you want to use. This allows the same light to be controlled from several panels or touch zones.
You can program a touch zone with the “Scenario” function through the ATouch 5.0 application or using the left microswitch.
In Automation mode, touch the associated zone or place your palm over the panel to run the configured scenario.
You can program a touch zone with the “Scenario” function through the ATouch 5.0 application or using the left microswitch.
In Automation mode, touch the associated zone or place your palm over the panel to run the configured scenario.
Enable Programmer mode in the ATouch 5.0 application settings. Open “Delete”, find the output and place it in removal mode. Then touch the zone whose association you want to remove.
The output will leave removal mode when the process is complete.
Enable Programmer mode in the ATouch 5.0 application settings. Open “Delete”, find the output and place it in removal mode. Then touch the zone whose association you want to remove.
The output will leave removal mode when the process is complete.
Press PROG on the module. Select the outputs whose associations you want to remove, leaving their green LEDs illuminated.
Press PROG for 2 seconds until the red LED starts flashing. Then touch the TW-FUSION zone whose association you want to remove.
Press PROG on the module. Select the outputs whose associations you want to remove, leaving their green LEDs illuminated.
Press PROG for 2 seconds until the red LED starts flashing. Then touch the TW-FUSION zone whose association you want to remove.
On the panel installed over the wall module, press the left microswitch for more than 2 seconds. Then touch the zone you want to disassociate. This zone may be on the same panel or on another panel in the installation.
On the panel installed over the wall module, press the left microswitch for more than 2 seconds. Then touch the zone you want to disassociate. This zone may be on the same panel or on another panel in the installation.
You can control up to three Modbus RTU air-conditioning units. This functionality requires a D-GATEWAY5 Pro and compatible air-conditioning equipment.
You can control up to three Modbus RTU air-conditioning units. This functionality requires a D-GATEWAY5 Pro and compatible air-conditioning equipment.
You can switch the unit on and off, set the required temperature, change the special mode and operating mode, control the fan speed, adjust the horizontal and vertical airflow vanes and switch between different units.
The available options depend on the installation configuration and the capabilities of the climate-control equipment.
You can switch the unit on and off, set the required temperature, change the special mode and operating mode, control the fan speed, adjust the horizontal and vertical airflow vanes and switch between different units.
The available options depend on the installation configuration and the capabilities of the climate-control equipment.
In Climate Control mode, press and hold the lower-left zone.
Use the Plus and Minus zones to navigate. Touch the lower-left zone to open or confirm an option. Use the upper-left zone to return to the previous menu or close the menu.
In Climate Control mode, press and hold the lower-left zone.
Use the Plus and Minus zones to navigate. Touch the lower-left zone to open or confirm an option. Use the upper-left zone to return to the previous menu or close the menu.
Open the climate-control menu and select “Calibration”. Set the required offset and confirm. This offset will be applied to the temperature detected by the panel.
Open the climate-control menu and select “Calibration”. Set the required offset and confirm. This offset will be applied to the temperature detected by the panel.
The TW-FUSION displays the room temperature, humidity, dew point and a numerical and visual air-quality indicator.
Air quality is classified as Good, Neutral, Poor or Critical.
The TW-FUSION displays the room temperature, humidity, dew point and a numerical and visual air-quality indicator.
Air quality is classified as Good, Neutral, Poor or Critical.
The backlight can be switched off through the ATouch 5.0 application, the panel’s general menu or the left microswitch.
To use the microswitch, press it for 2 seconds and then press it again for 5 seconds. Repeat the process to switch the backlight on again.
The backlight can be switched off through the ATouch 5.0 application, the panel’s general menu or the left microswitch.
To use the microswitch, press it for 2 seconds and then press it again for 5 seconds. Repeat the process to switch the backlight on again.
You can configure night mode, backlight, keypad sound, display brightness, screen saver, language and the default home page. You can also view the firmware version, hardware version and serial number.
Five languages are available: Portuguese, English, French, German and Spanish.
You can configure night mode, backlight, keypad sound, display brightness, screen saver, language and the default home page. You can also view the firmware version, hardware version and serial number.
Five languages are available: Portuguese, English, French, German and Spanish.
Briefly press the right microswitch located on the underside of the panel. The display will restart without deleting any settings.
Briefly press the right microswitch located on the underside of the panel. The display will restart without deleting any settings.
Press the left microswitch for 10 seconds until you hear a long beep. This operation deletes all panel settings.
You can also open the general menu in Automation mode and select “Factory Reset”. Total Reset restores all settings and configured units. Partial Reset restores only the settings.
Press the left microswitch for 10 seconds until you hear a long beep. This operation deletes all panel settings.
You can also open the general menu in Automation mode and select “Factory Reset”. Total Reset restores all settings and configured units. Partial Reset restores only the settings.
Use a damp cloth with diluted soap or detergent. Do not use glass cleaner, alcohol or thinner.
Prevent cleaning products from coming into contact with the rear of the panel, as they may damage the equipment and invalidate the warranty.
Use a damp cloth with diluted soap or detergent. Do not use glass cleaner, alcohol or thinner.
Prevent cleaning products from coming into contact with the rear of the panel, as they may damage the equipment and invalidate the warranty.
Apoio ao cliente